Controversy means great things are afoot
Lately there have been a series of heated debates in print, blog or other forum regarding silver vs digital imaging, and horrors~ use of computers by photographers. The really ugly stuff starts when the whole "digital art" thingy gets into the equation.
Purists moan
regarding the loss of film and silver based paper...yes its happening but manufacturers do that when the market changes.
ITs one of the consequences of a free market system, get a grip and deal with it. The manufacturers, Japanese in particular continue to invest tons into silver based product for the
professional market. Makes sense put your efforts where the money is.
I bailed on silver based when digital was able to rival the quality and beat it at price. Let's face facts your 4gig CF card pays for itself the first time you fill it up...'cause if it were film for those 1000 images the processing bill would have killed you. I switched as I am cheap and can get the same image for less
dineros. Simple as that.
Today after reading a few blogs and a letter to the editor on one of the photo magazines I subscribe too I got to thinking. What irked me was this photographer pontificating out in the sticks in "conker creek, TN" who made the switch from digital as there were no labs around. Fine can live with that. The she wrote "I have found the
beauty of actually learning to use my camera - not Adobe
Photoshop. I use my Cannon
EOS 20D (a little
elitist snob appeal??? my comment not hers) as I did my 35MM, and my work is wonderful. The best part is that it's "mine"..."
So while on my walk and enjoying the beautiful weather I thought a lot about this debate. A good image is one that has good composition, if that isn't there no amount of fiddling in an editing program will change that. You can't mask bad composition.
No program will ever let you doctor a bad image where you can call it "pseudo art" as she termed it. An image works or not based on the skill of the artists using their medium of choice. Painters do it, graphic artists do it and now digital artists do it. IF the image can't stand on its own no amount of effect can fix it. You can't apply filters without an understanding of why it works, what you want to convey with it. Couldn't do it as a painter
underpainting, can't do it as a photographer for the same reasons. There has to be a method to your madness with an understanding of the final result....that comes through education, experience and practice. And in the end if the composition sucks so will the final product.
I love the realm of digital art. IT allows me to take photographs and do things with the image that it took me ages to do in the old world of dip and dunk in the lab.
So while enjoying a glorious sunny, 85 degree day in November along the San Gabriel River I broke out the Che-
ez Snap digital camera and filled up its little 25 image card with these fun little .3
mega pixel images. As I've said before...contrast control is poor, sharpness is poorer, color rendition is sketchy on a good day. It does however make you focus on composition. Which has been a theme of review and focus for me lately.
Add in the camera's artsy
fartsy recording of the world as I meander through it, those images are ripe for conversion into purely "impressionistic" pieces. And that I did...
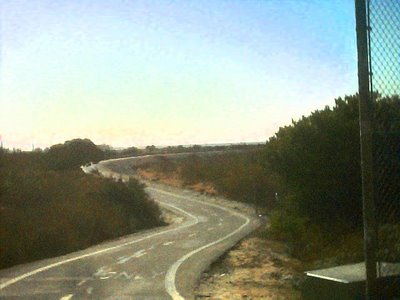
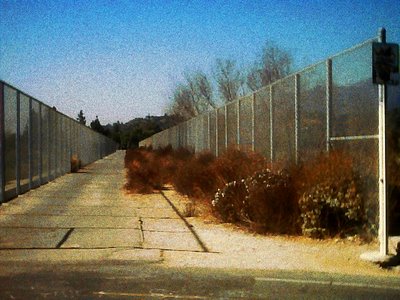
Enjoy "Bike Path" and "
Duarte Bridge" for what they are.
Exercises in impressionistic focus on pure composition. One works because of the sweeping lines made by man (man vs nature theme
snuck in too) that forces your eye to meander through the image. In the Bridge its hard edge of man vs soft of nature forcing you to look into the image. Different composition techniques making images work. Digital art with a camera works, now leave me out of the silver vs
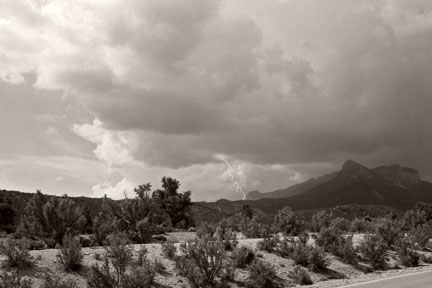
digital debate. Here's the final Images "AND THEY ARE MINE"!!!
(If I could blow out a raspberry right now I would)