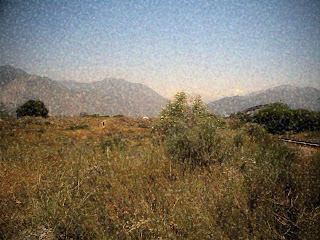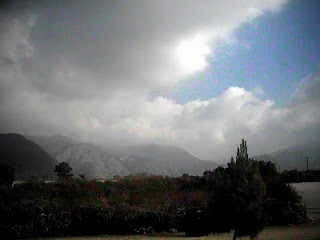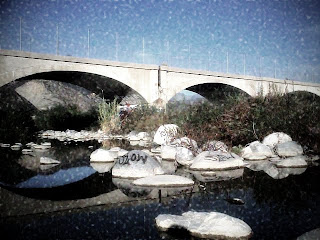


I don't know what I was thinking but I completely forgot about this treasure trove of images done with the digital camera I had called the Che-ez snap. I found the DVD's from my old Textamerica account and started sifting through them.
I've blogged about that little camera numerous times, what I never thought about was how those low res images might be the key to perfecting the Autochrome look that I wanted. Until yesterday.
These images all started as small low resolution jpegs from that camera. I went and created a few layers until I got the saturation lowered and wider grain of the Autochrome sorta duplicated with the help of Adobe CS5. What I still can't figure out how to do is outline these "grains" with black like the Autochromes themselves had. Until then I can only partially duplicate the look and feel of those old 'chromes.
To get there here is the steps I use.
Create new adjustment later>black & white. Leave blending to "normal" but set opacity to 25%.
Click on the original image and use control+alt+J to create a new layer and label it noise. desaturate the image by about 25% using the adjustment too. Go to Filters>Blur>Gaussian Blur and set the adjustment to "5" pixels. Next go to Filters>Noise>Add dust and scratches and move slider until you just have some visible dust and scratches. Final stop is to go to Filters>Pixelate>Pointillize and adjust towards smaller dots.
Click on the "noise layer" and adjust your mixing to either "soft light" or "hard light" until you get the image that you like.
Merge layers and voila your final image is now set to be saved as a pds file for further use or jpeg for publishing on flickr or similar.

No comments:
Post a Comment