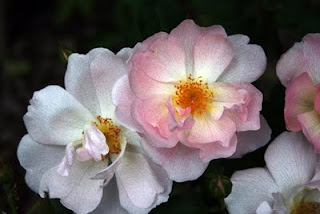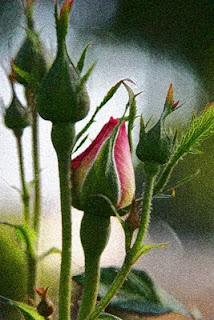
 First of all, pardon me for not giving you all a reference point for the Autochromes. What lit my fire was discovery of the site "Les Autochromes Lumiere' " which has a few hundred wonderful images from early in the last century. Those images should give you an idea of what I am trying to replicate with photoshop. The pages within the site that would best serve as a jumping point if all you want to see is the images is titled "The Revelation of Colour".
I continued to work and discard a lot of images today. Mostly because I just wasn't happy with how I was getting the effect done. Lots of notes scribbled about what worked and what did not.
An order I have come across that seems to work pretty good. Start with a duplicated layer. Start by going to the pixelate filter and chose pointillism. Next go to artistic filters, brush stroked and use the paint daub tool. Next in the multistep process is to go to artistic filters, brushstrokes again and opt for "outline in black".
Next you go to artistic again and pick film grain tool. Finally the last step is in artistic where you pic poster edges and adjust until you have some delineation and gradation within the various colors. The final step is to use the blending tool and adjust how the layers interact until you get a sharp/unsharp image that fits the profile of an autochrome. Whew...a lot of steps but am liking the results so far.
This batch the color is a bit stronger than I did yesterday, but the original files were very deeply saturated to start with. What I am doing now is desaturating the color some, I *think* future explorations with flowers and other deeply saturated images I will desaturate the duplicate layer before I do the other manipulations.
Enjoy today's explorations on the topic of preplicating Autochromes.


No comments:
Post a Comment