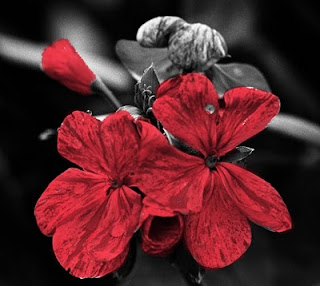
Scanning negatives is a long process, well it is if you do extremely high res, which I do for the sake of clarity when it comes to doing prints later. It takes several minutes per frame to scan and the 'puter to process the image to something useable.
What to do in that time? Play in photoshop and see what you can do new or different. I liked the resulting image and it took enough steps to kill some time while scanning in a roll of film.
To get this image I took a cropped down the negative some and using "mode" changed it from 16bit grayscale to RGB. I then created a new layer that was automatically and aptly named background by Adobe's CS5.
I then broke out the eyedropper and picked a shade of red I wanted to "paint with". I used the brush tool, set at a very high pixel count (something silly like 475 pixels) and a textured brush. From there I followed the directions of the petals gradations and "painted" on that new color. Once the areas were colored in I used the blending tool at "multiply" to bring the two layers back together again allowing the original layer to allow the colored layer to show through and giving some detail back to the picture. I merged the layers, dumbed them down to 72 dpi for faster downloading here and voila...geraniums selectively colored.
Of course am busy scanning negatives for use in real handcoloring of negatives in the next day or so when I have time to experiment with that process again.


No comments:
Post a Comment